Free Confirmation Receipt Template
A confirmation receipt shows your customer that their payment or service request has been recorded successfully. It is a simple way to build trust and keep clear records.
Whether you run a moving company, offer snow removal, painting, towing, or demolition services, Docelf’s confirmation receipt template makes it easy to send quick and professional confirmations.
- PDF, Email or Print
- Keep your receipts organized
- See when your receipt has been opened
- Send out professional receipts
Confirmation Receipt Templates by Docelf
Docelf’s confirmation receipt templates help service pros like you create fast, polished receipts. Just fill in your business information, list the service or product confirmed, and add the date and payment details if needed. Then print, download, or email it straight to your customer.
Other Receipt Template File Formats
Looking for different ways to create your receipts? With Docelf, you can use templates that work in Word, Google Docs, Google Sheets, or Excel. Word is great if you want to tweak the look and feel of your receipt just the way you like it. Google Sheets is handy if you like working with numbers and want an easy way to track everything with simple formulas. Google Docs keeps things simple and easy to edit from anywhere. Excel is perfect if you want a powerful and flexible way to organize your receipt details and keep a clear record of your sales. No matter how you like to work, there’s a template ready for you.
- Word Receipt Template
- Google Docs Receipt Template
- Excel Receipt Template
- Google Sheets Receipt Template
- PDF, Email or Print
- Keep your receipts organized
- See when your receipt has been opened
- Send out professional receipts
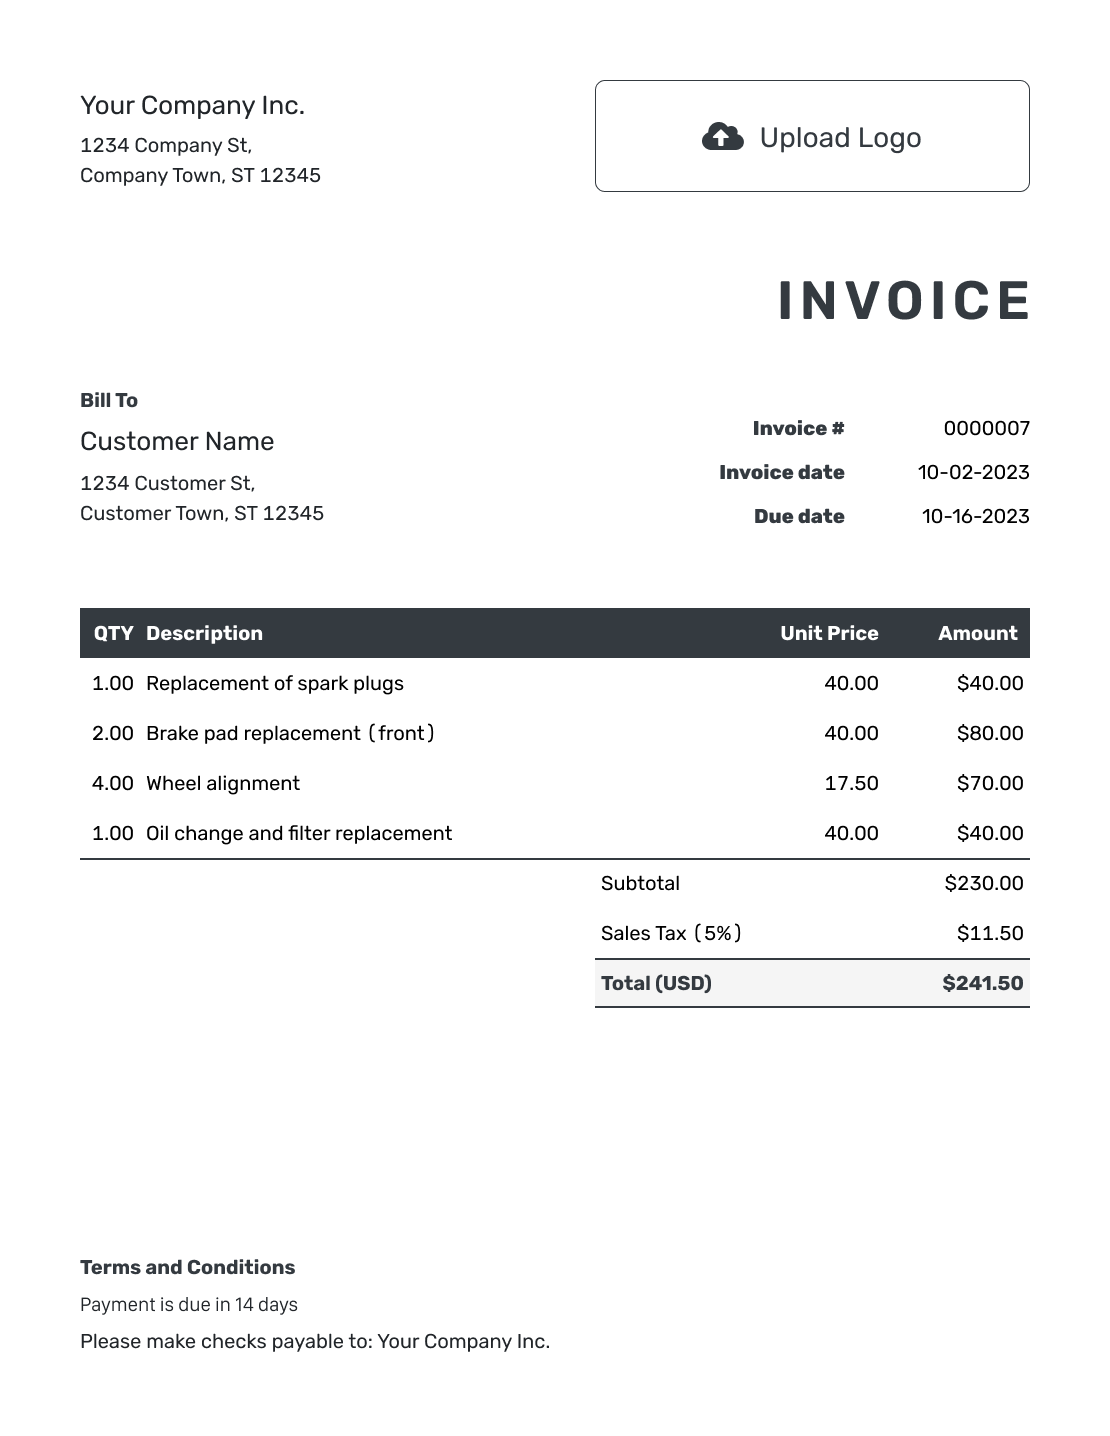
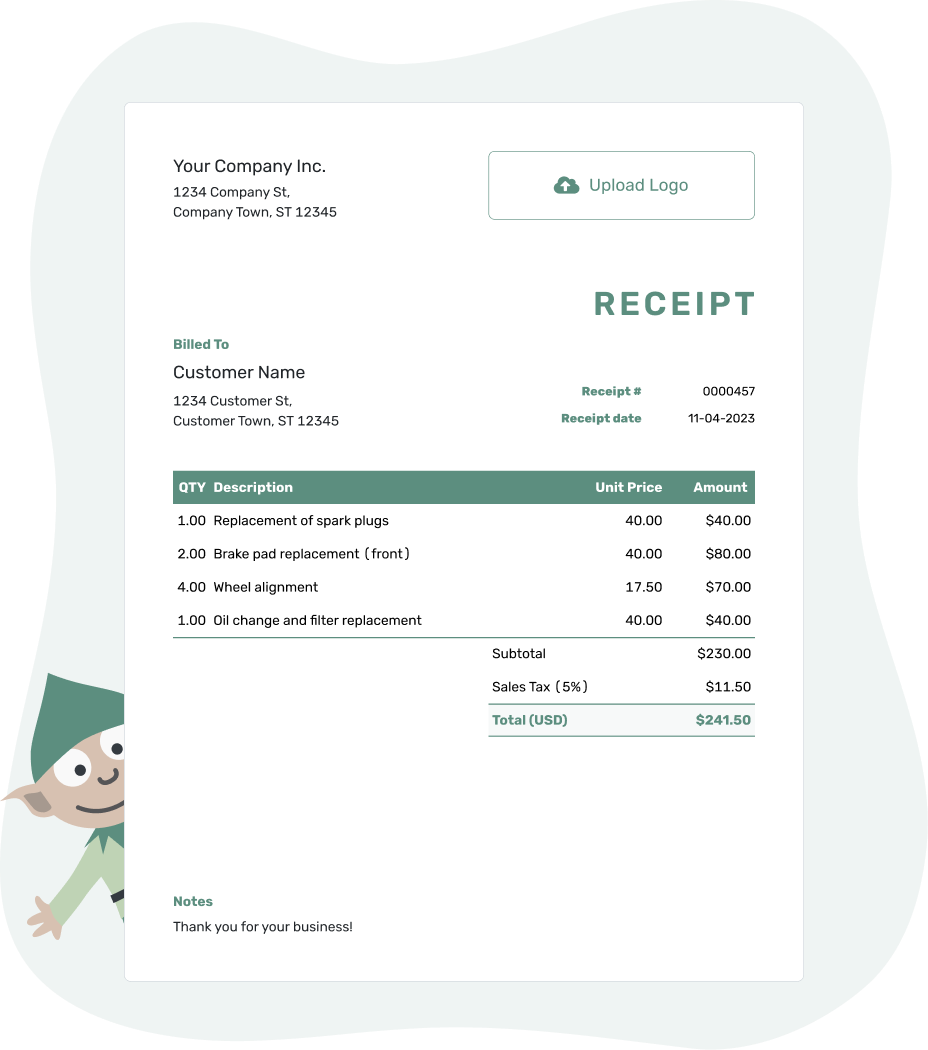
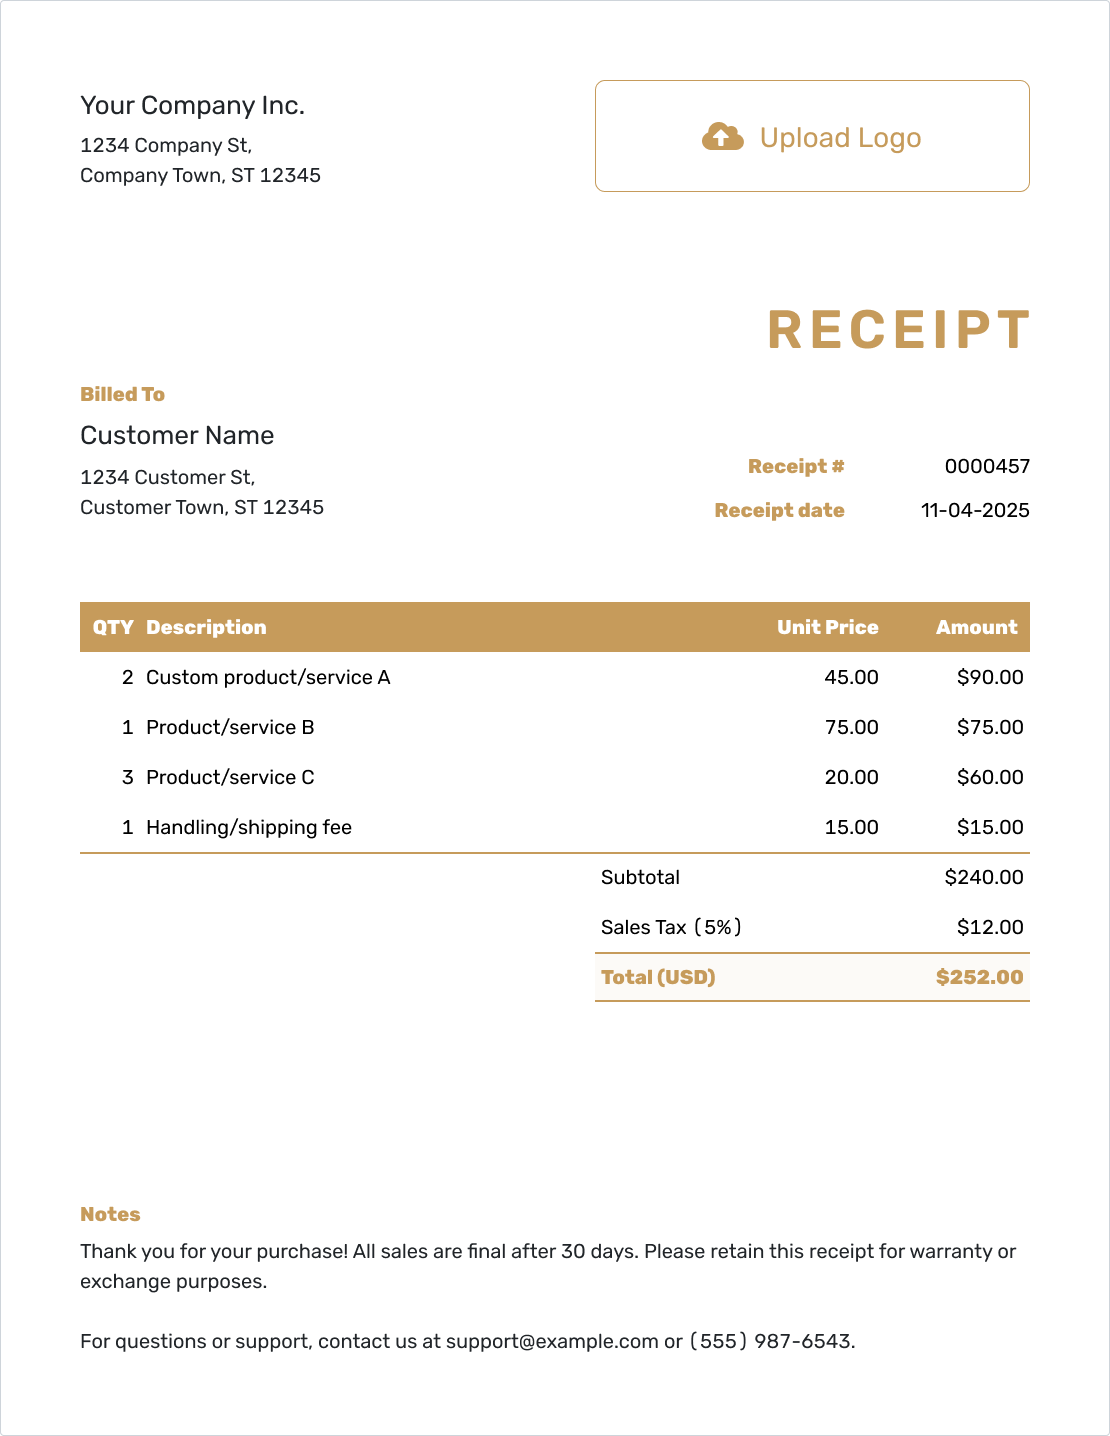
How to Write a Confirmation Receipt
Writing a confirmation receipt is simple. Start by adding your business name, contact details, and a receipt number. Clearly list what was confirmed, like a down payment for painting services or a scheduled move date.
Include the date of confirmation, your customer's name, the payment amount if any, and any special notes, like terms agreed upon. It shows professionalism and keeps both you and your customer on the same page.
To write your first receipt follow the step-by-step guide below:
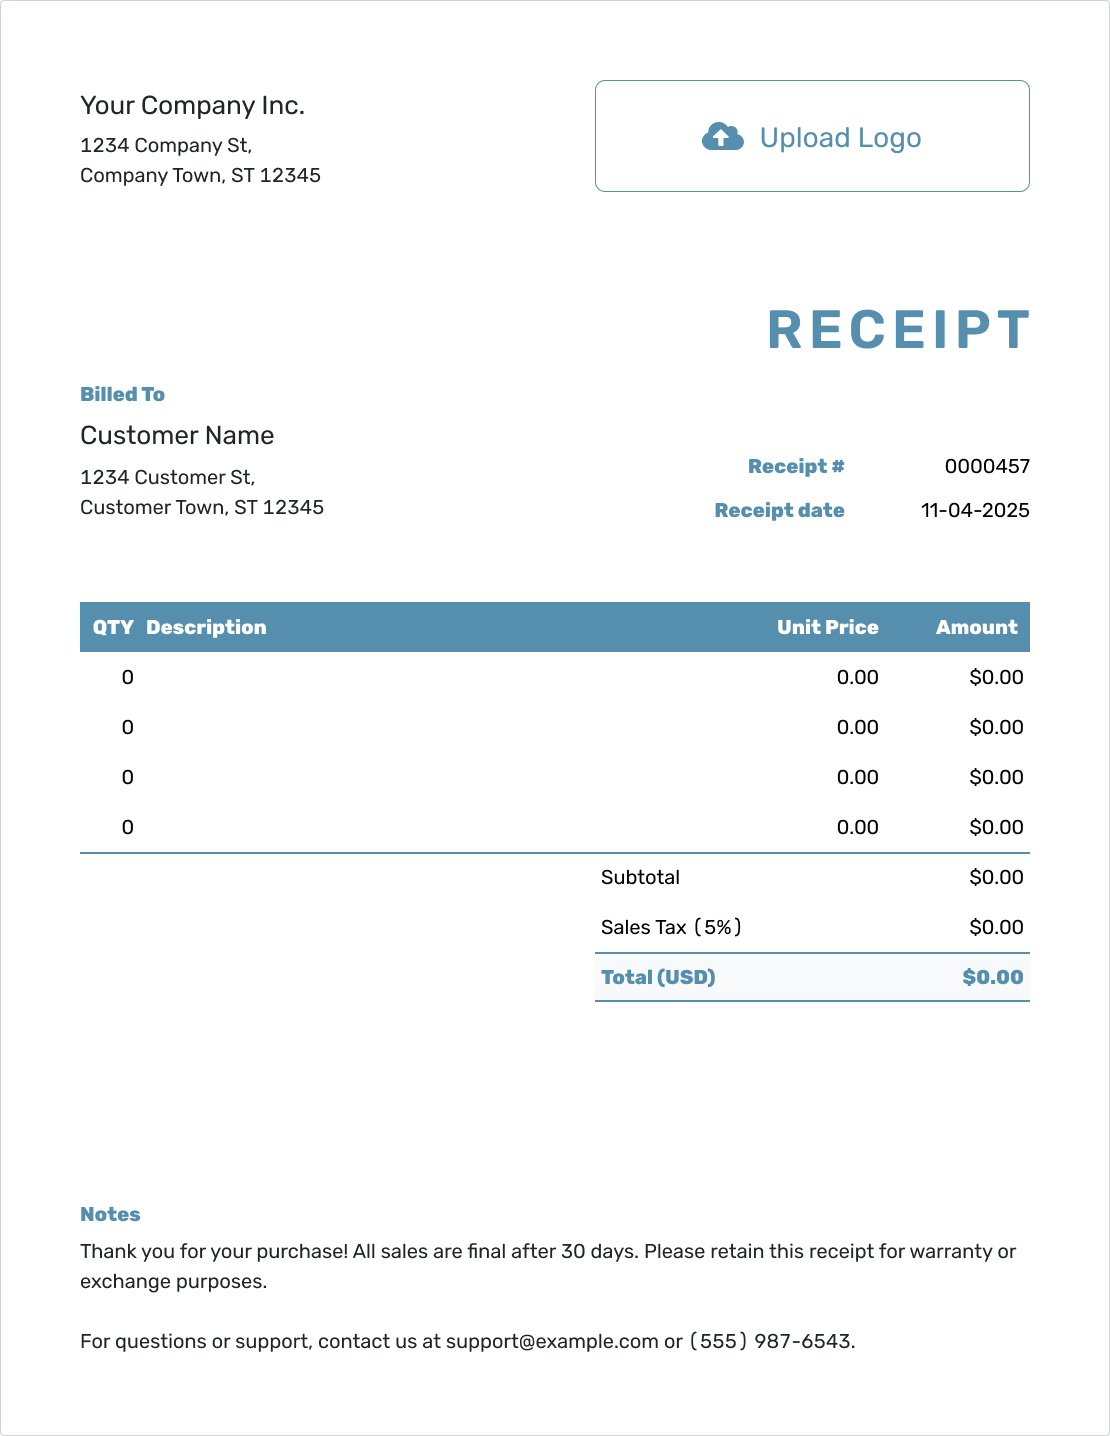
1. Company Information:
- Locate the 'Company Information' section on the template.
- Enter your company's name, address, phone number, and email.
2. Logo:
- Find the 'Logo' section on the template.
- Click on the 'Upload' button to add your company logo.
3. Customer Information:
- Scroll to the 'Customer Information' section.
- Enter the customer's name, address, contact number, and email.
4. Receipt Number and Date:
- Locate the 'Receipt Number' field and input a unique number for identification.
- Find the 'Date' field and select the appropriate date from the calendar.
5. Line Items:
- Move to the 'Line Items' section.
- For each item, fill in the 'Quantity', 'Description', and 'Unit Price' fields.
- The 'Amount' will auto-calculate based on the quantity and unit price.
- To add more items, click the 'Add Line Item' button.
6. Taxes and Discounts:
- For each line item you can add tax, if applicable.
- Input the tax percentage or fixed amount
- For discounts, click on 'Add Discount', then enter the discount percentage or fixed amount.
- The total will update automatically to include taxes and subtract discounts.
7. Notes:
- Scroll down to the 'Notes' section.
- Add any relevant information or messages for the customer.
8. Send, Create PDF or Print the Receipt:
- Once you're satisfied with the receipt, click on the 'Send' button to email it to the customer.
- If you want a digital copy, click the 'PDF' button to save it as a PDF.
- To print the receipt, click the 'Print' button and follow your computer's printing process.
Creating receipts using the Docelf template ensures a streamlined, accurate, and professional process. Whether you're emailing, saving, or printing, these steps will guide you in maintaining efficient records for your business.
- PDF, Email or Print
- Keep your receipts organized
- See when your receipt has been opened
- Send out professional receipts
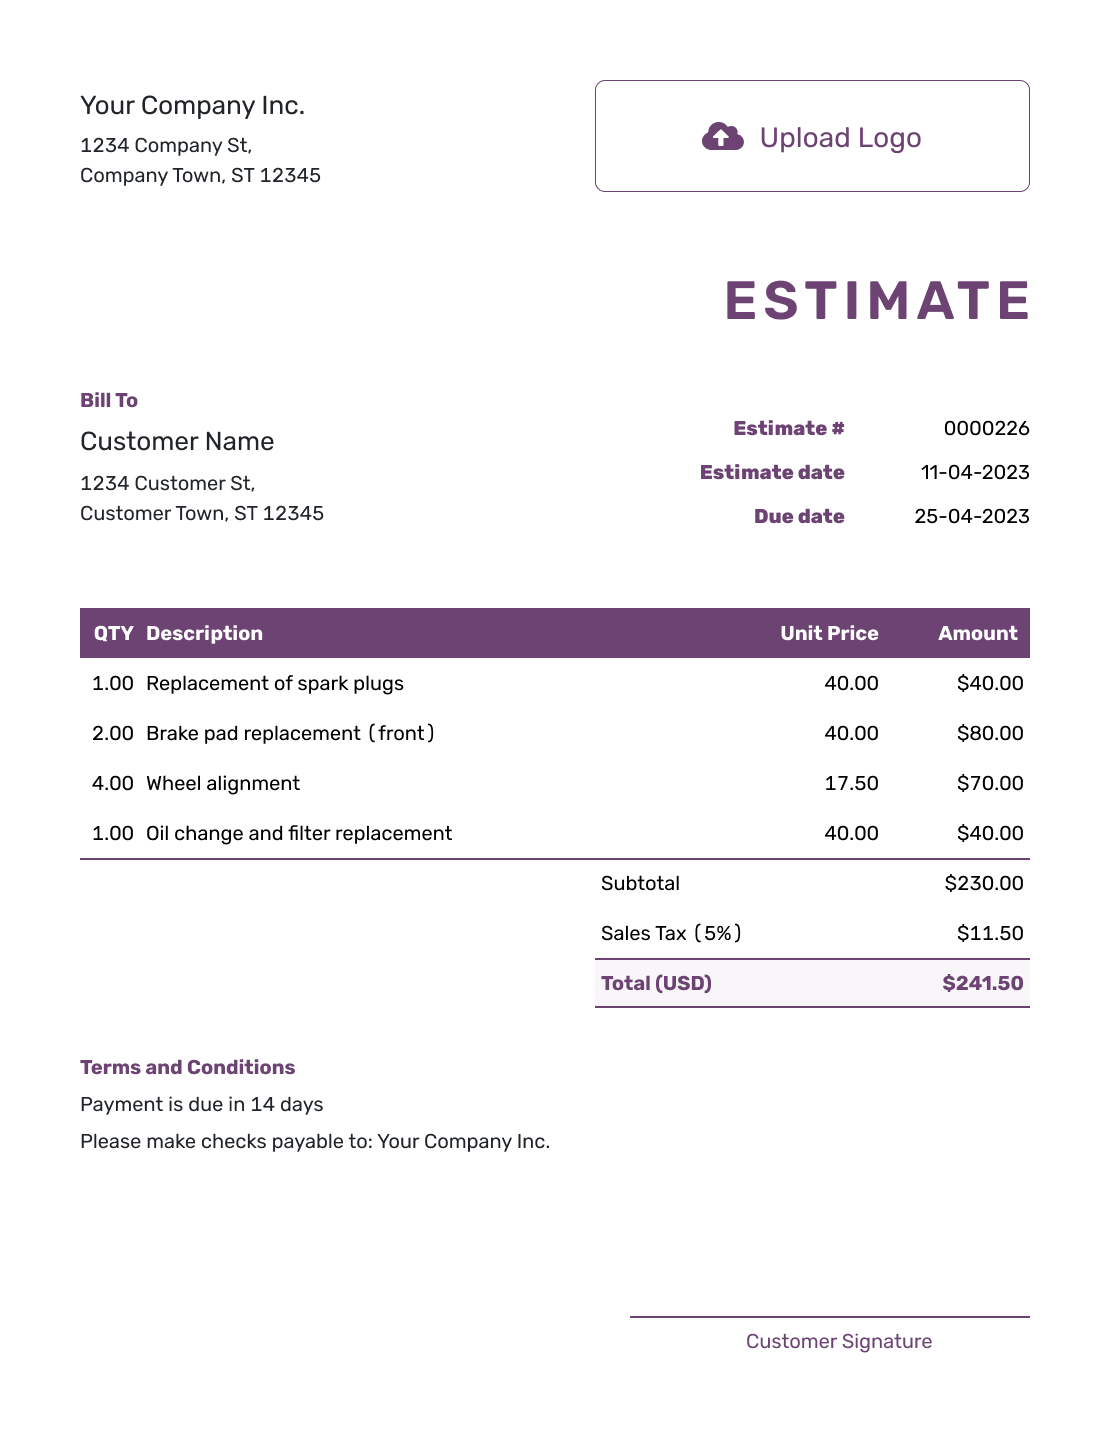
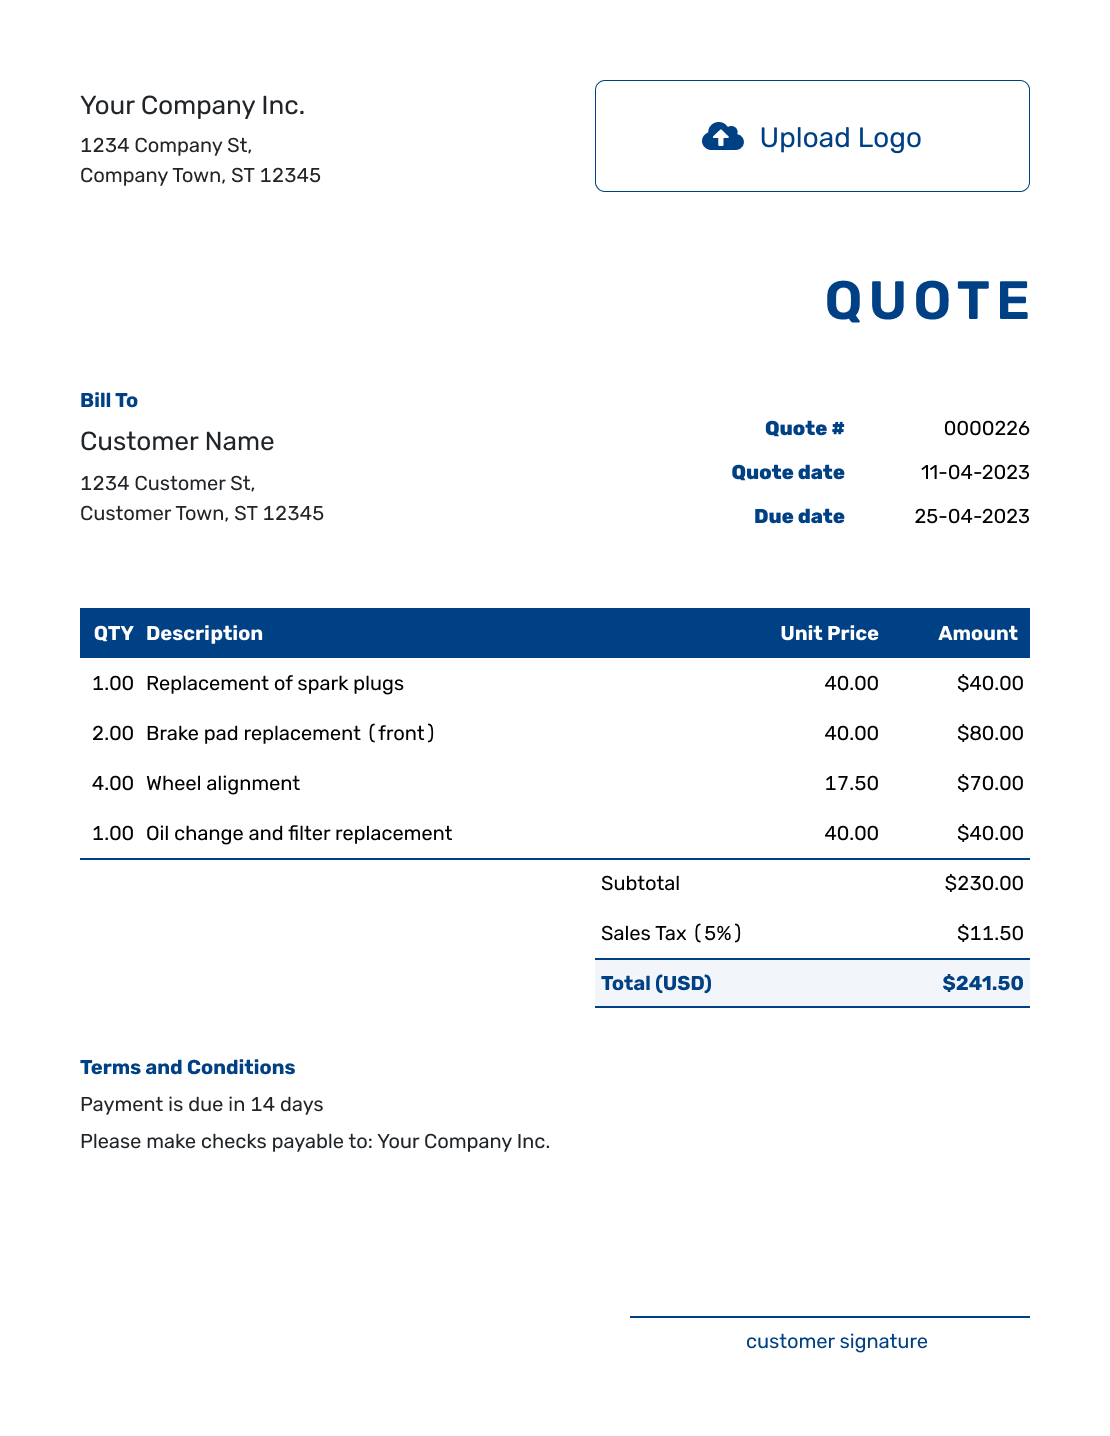
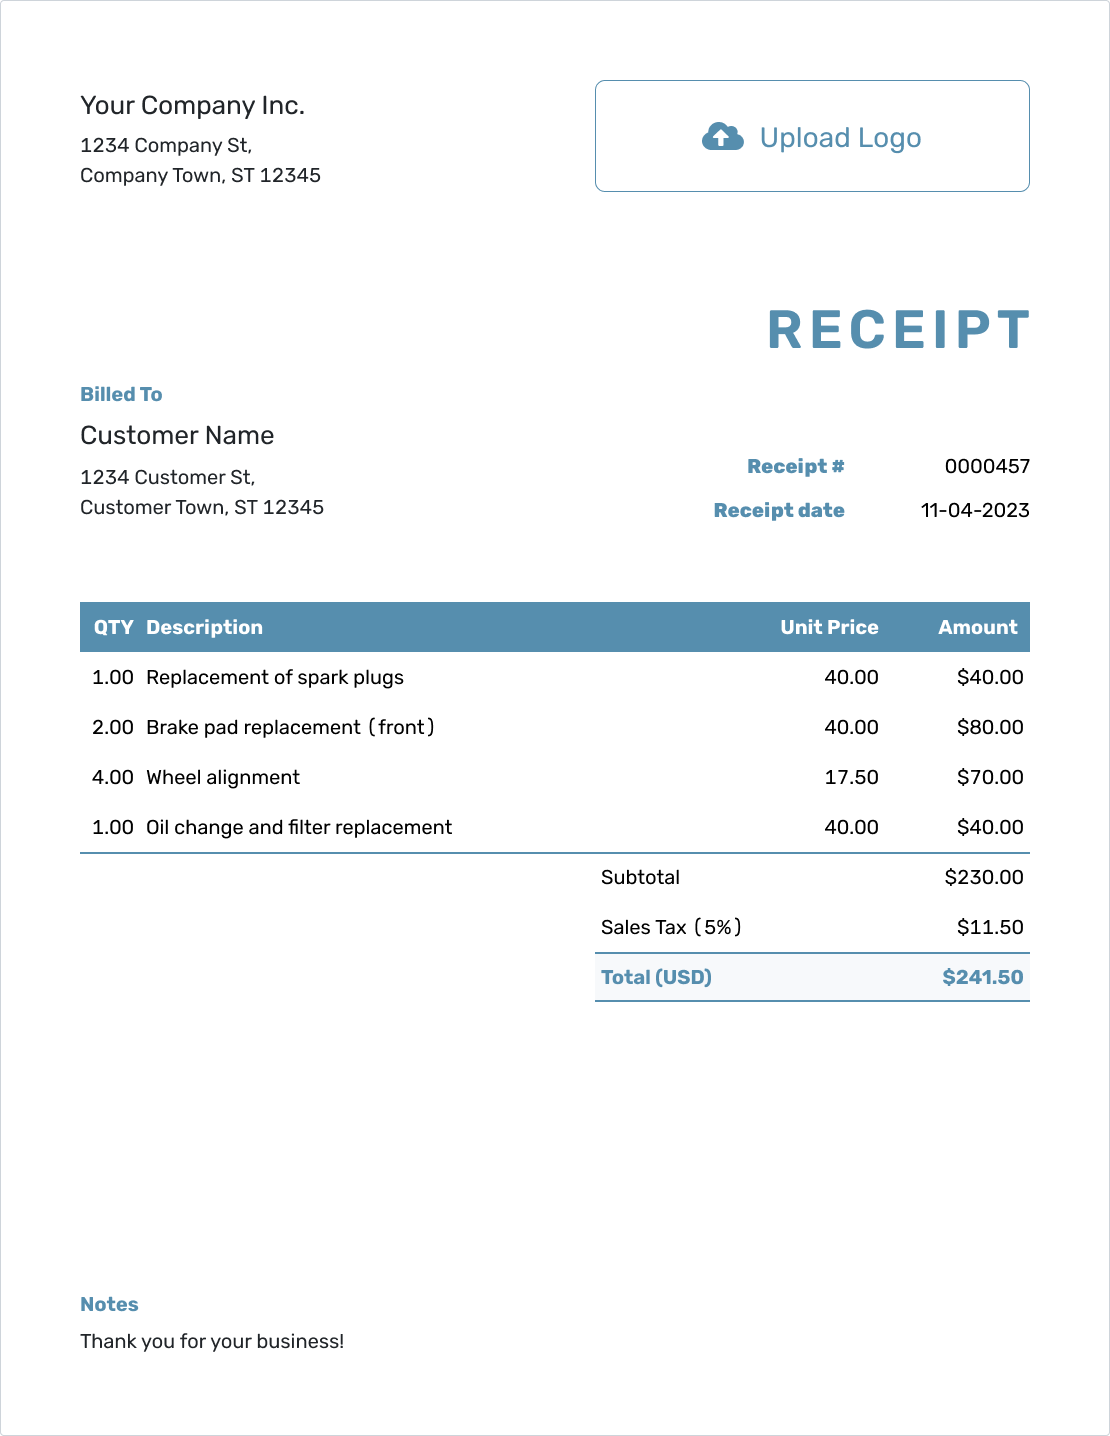
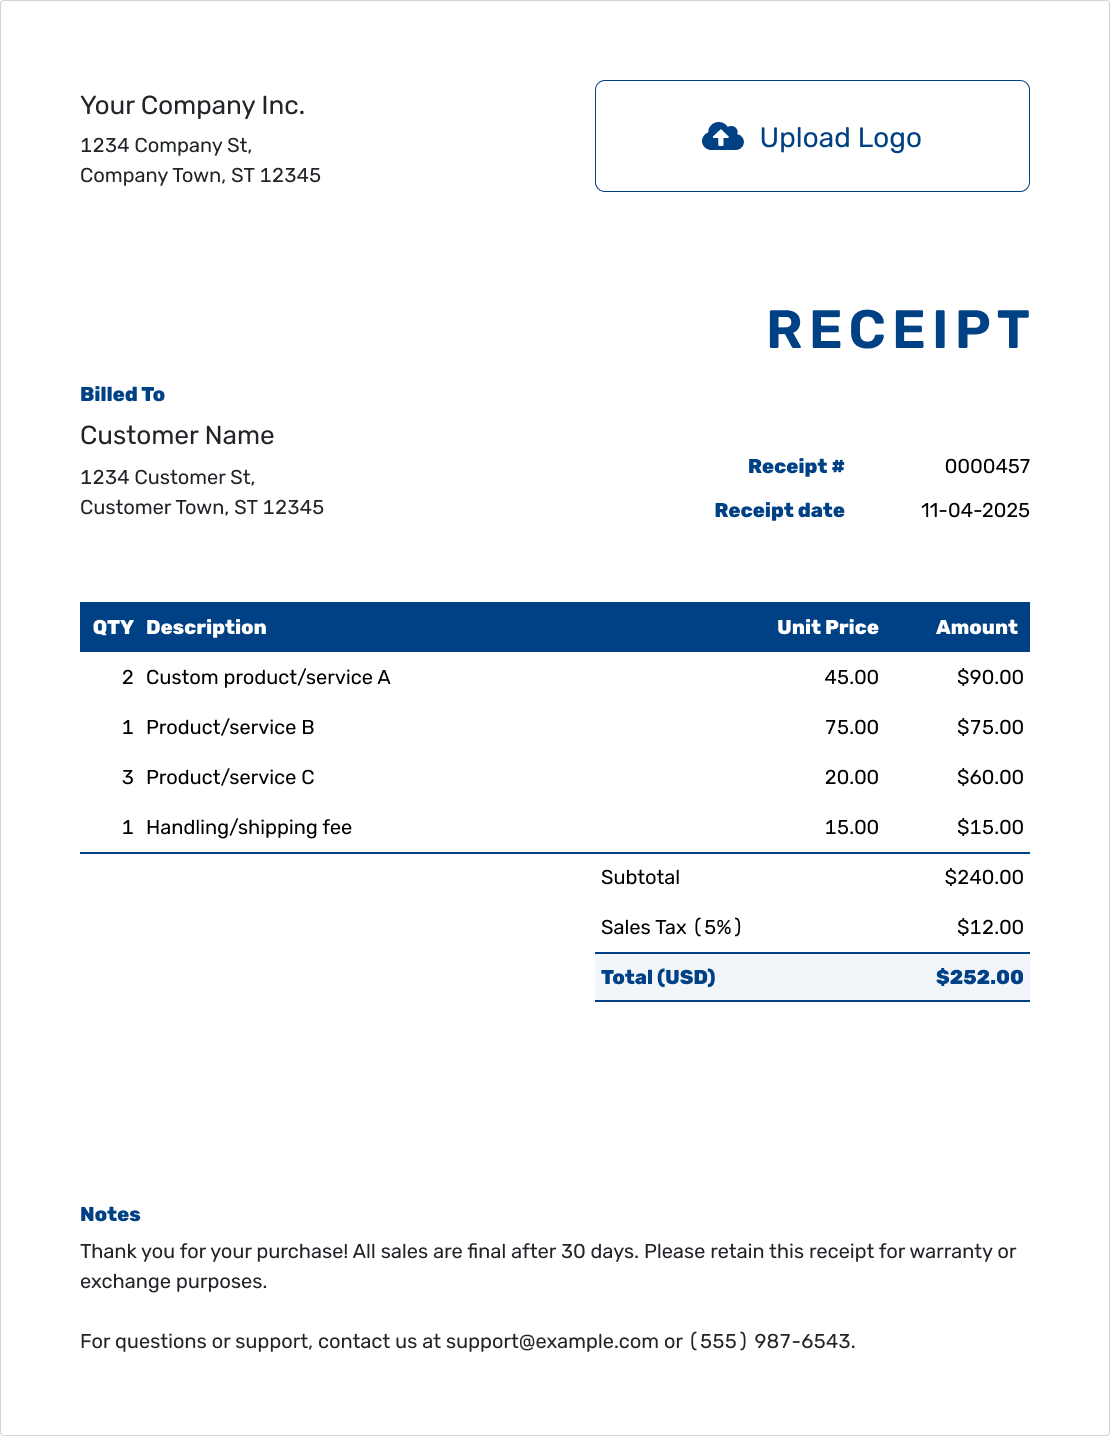
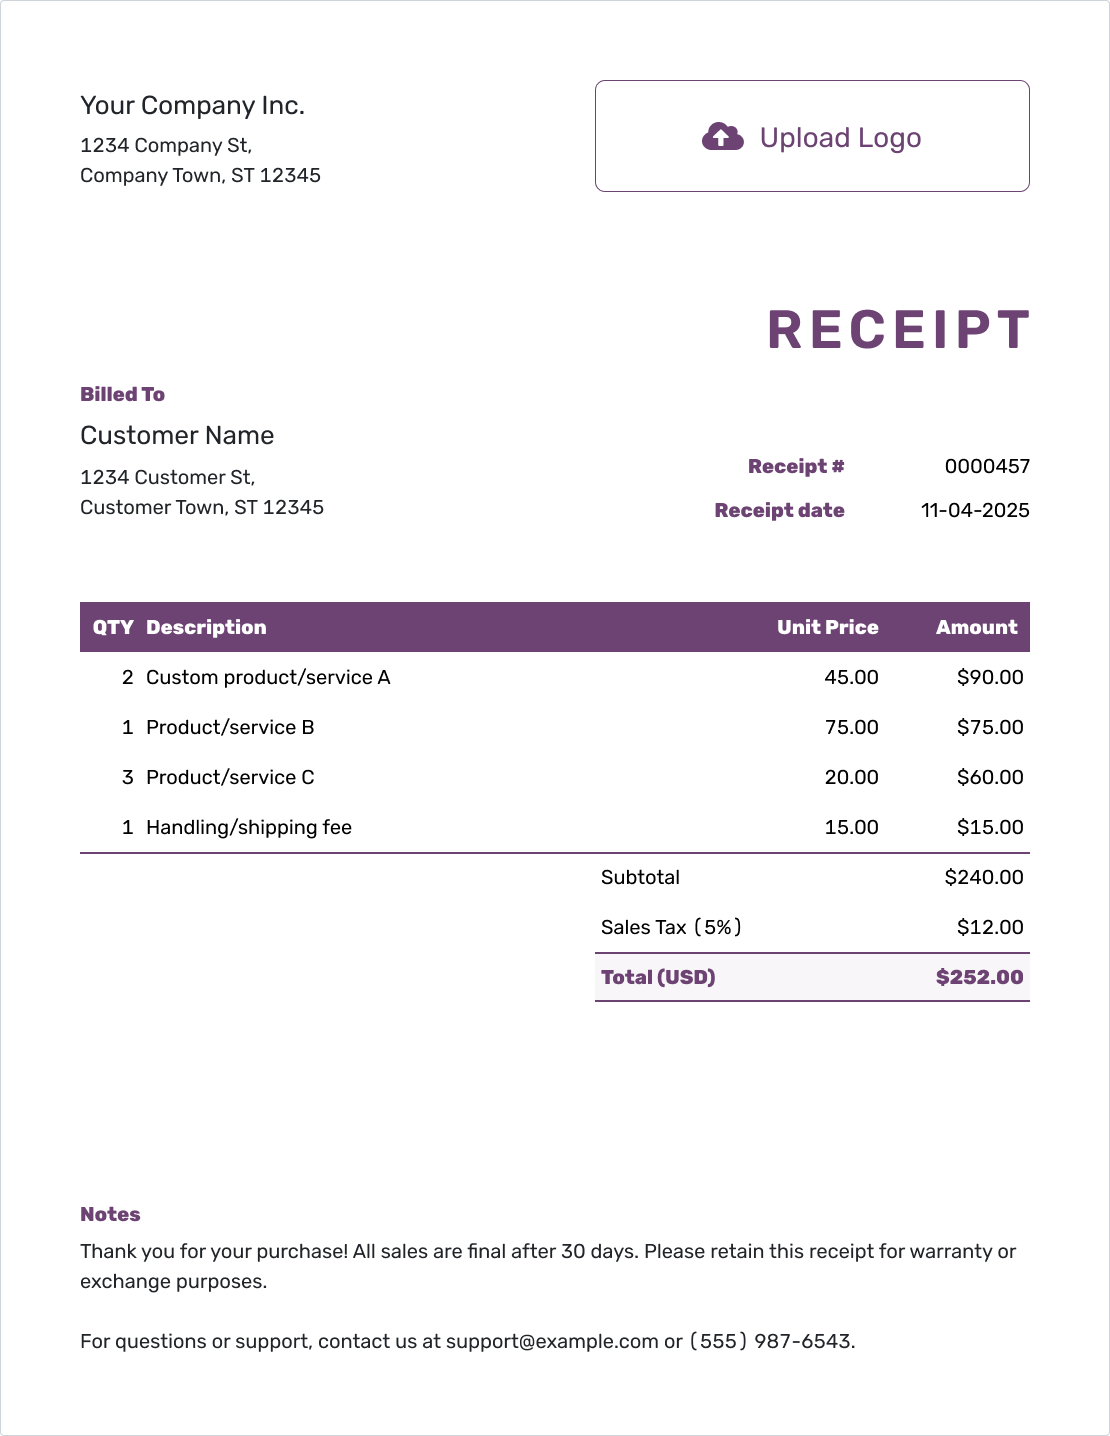
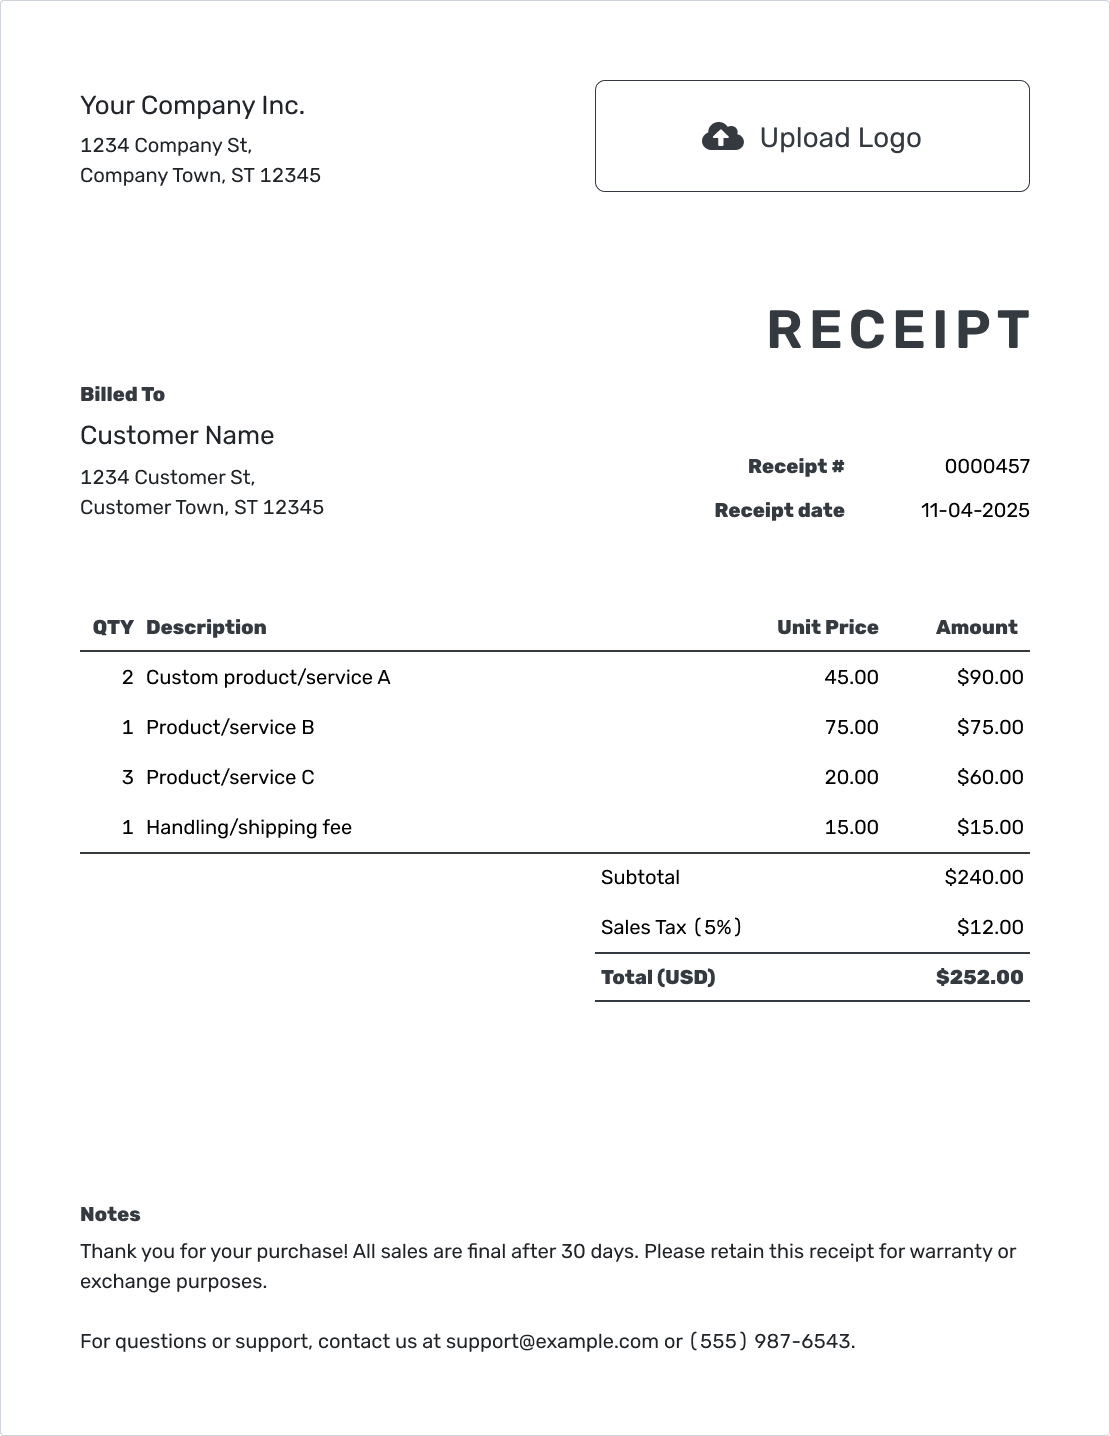
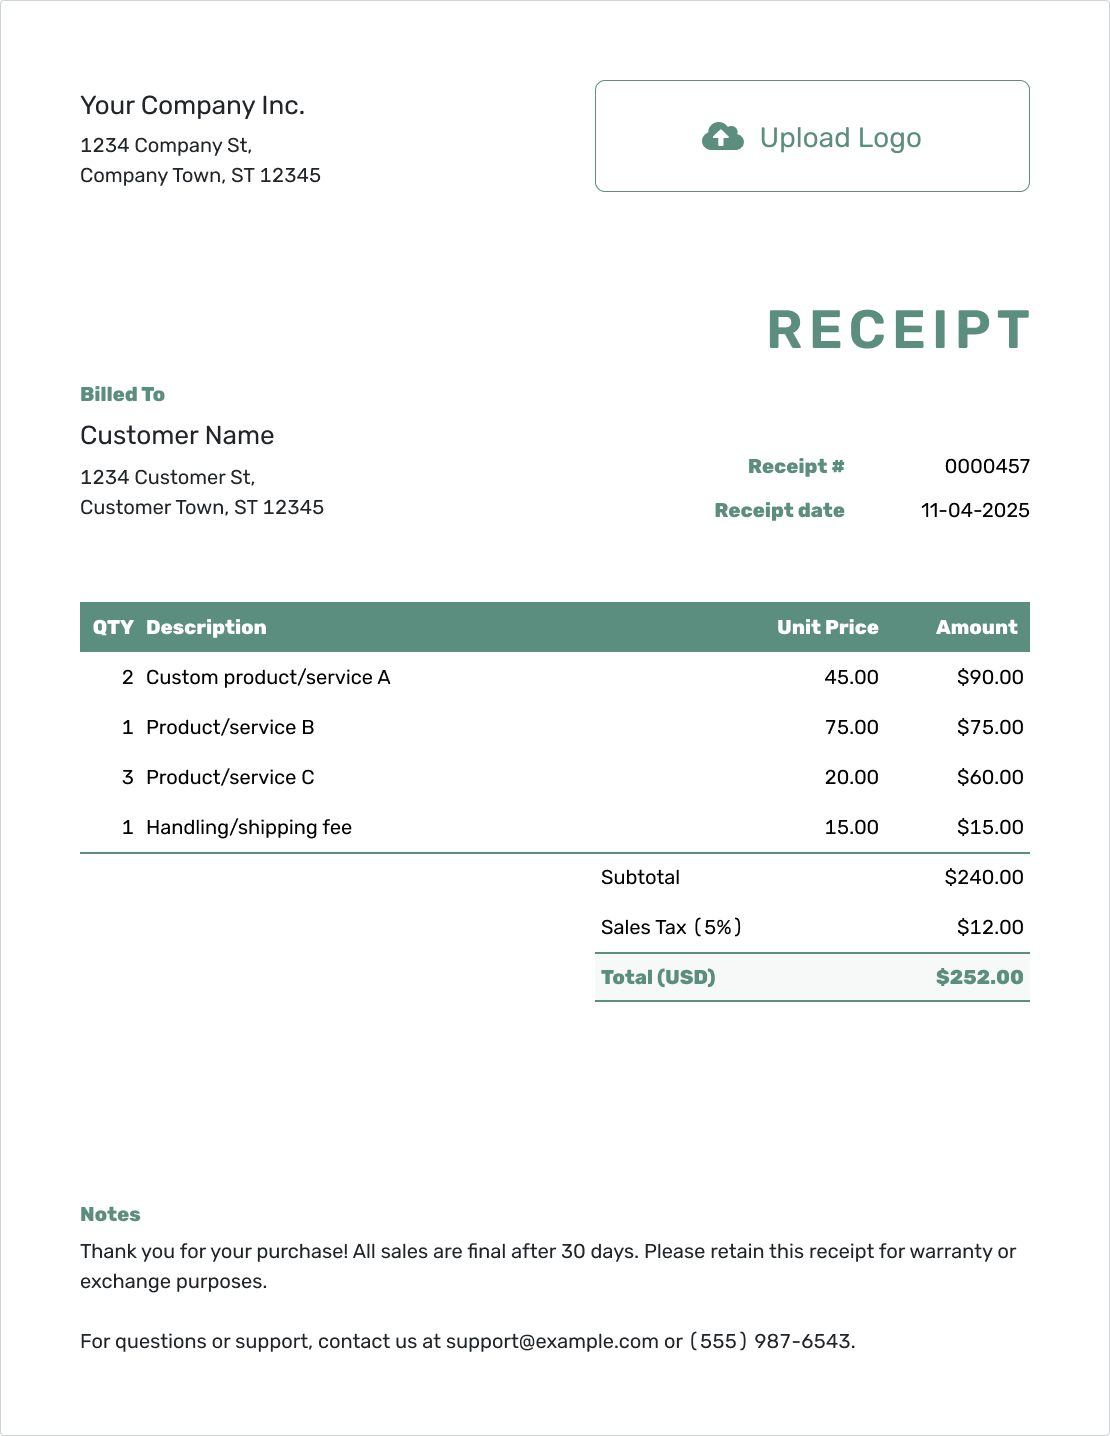
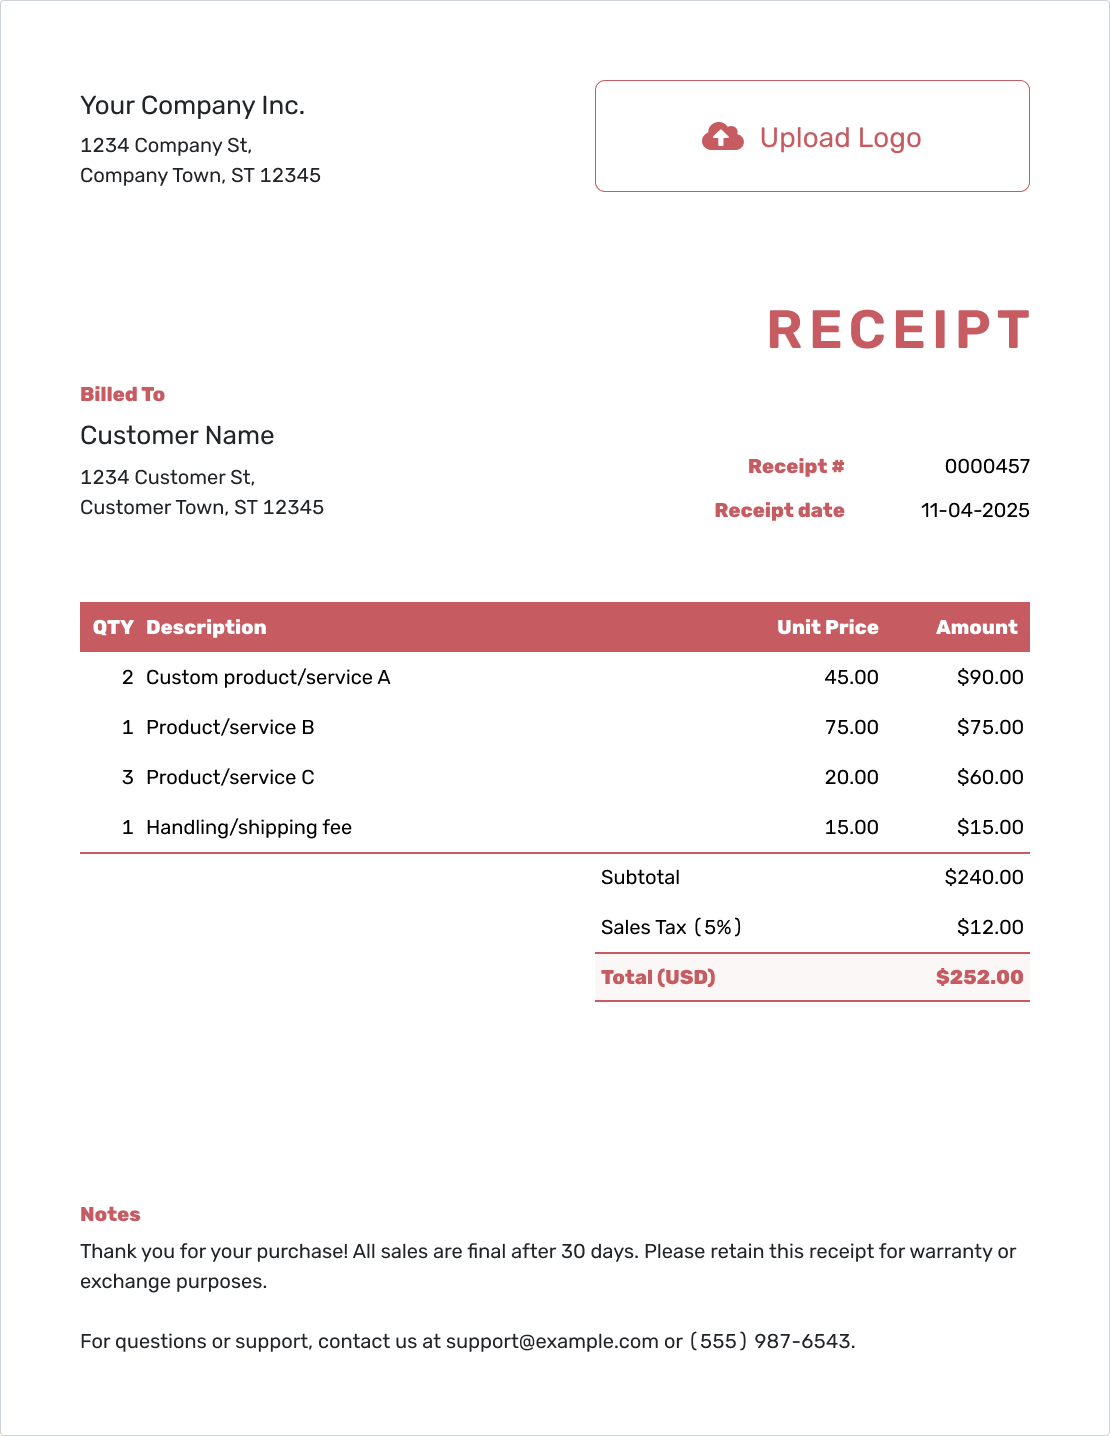
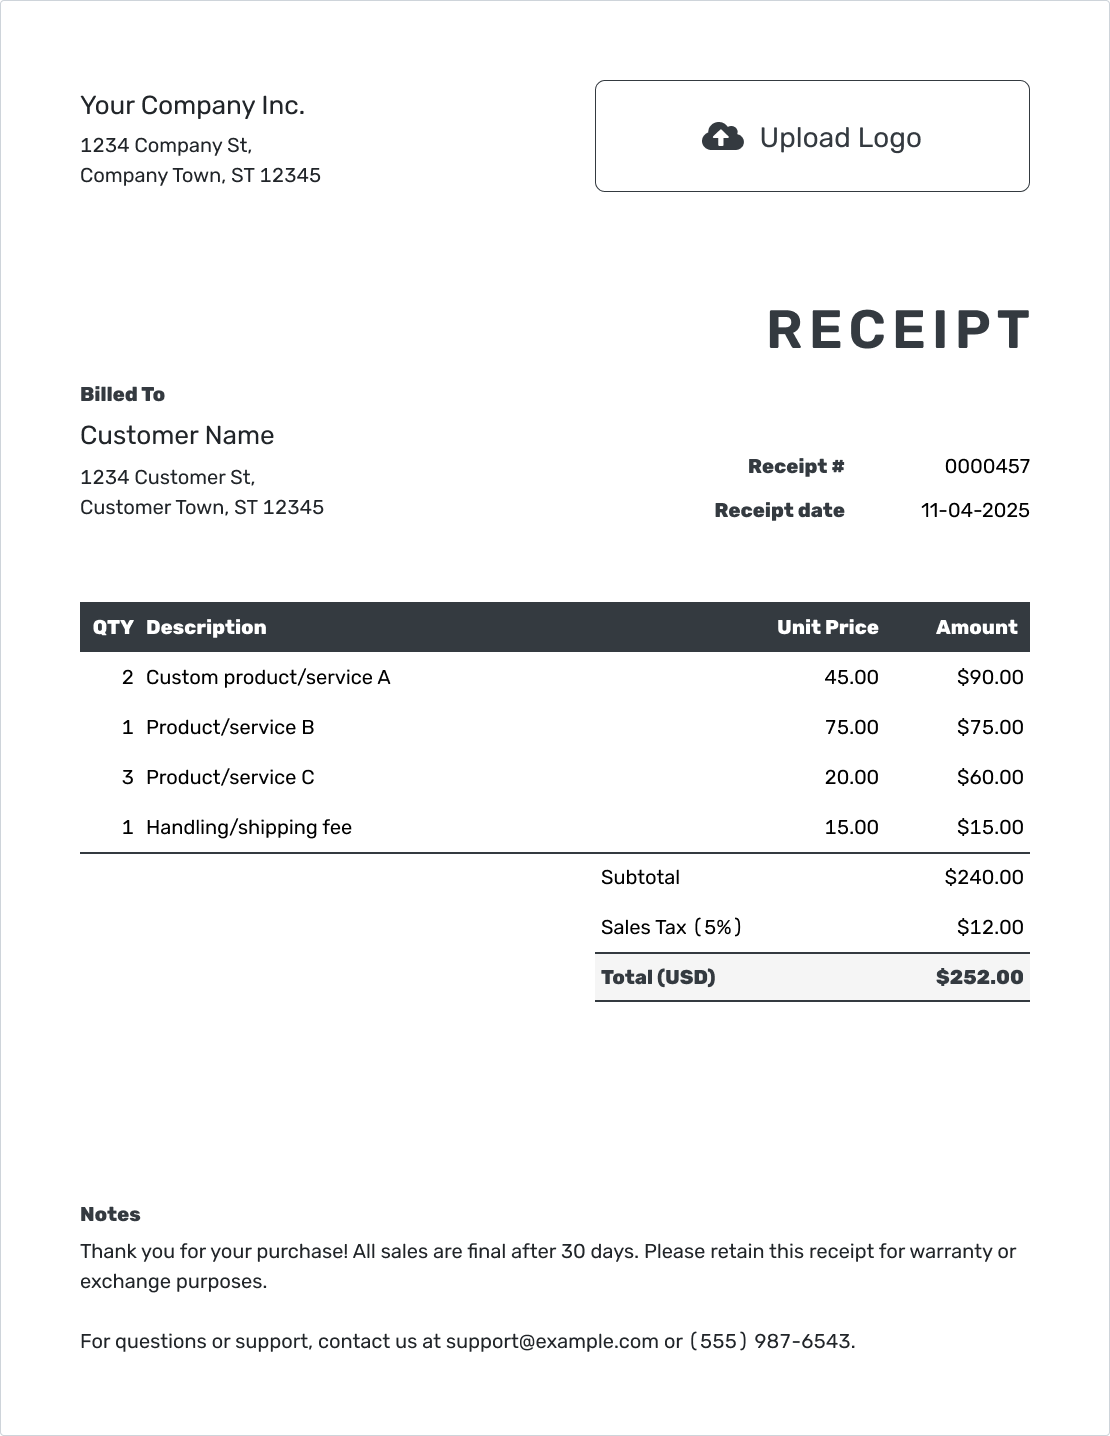
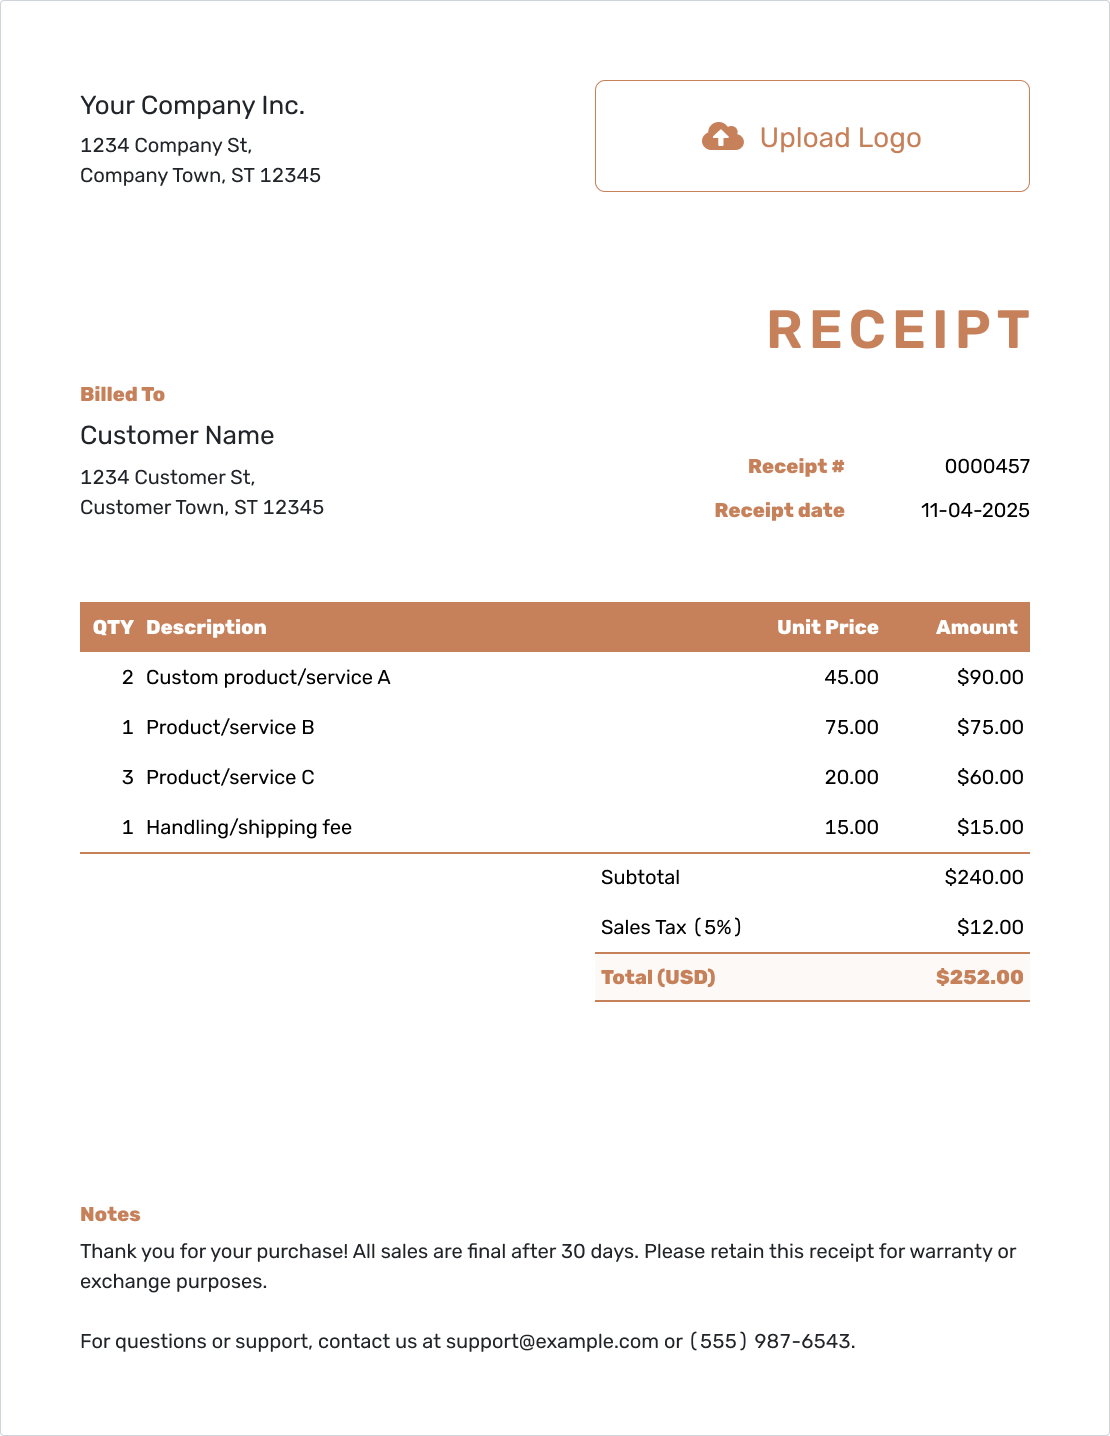
Customize the Confirmation Receipt
With Docelf, you can personalize your confirmation receipt template to fit your business. Upload your logo, adjust colors, and select fonts that match your brand, whether you handle demolition, construction, trucking, or auto repair.
A professional confirmation receipt shows that you take your work — and your customers — seriously. Docelf helps you do it easily and beautifully.
Want to make your receipt look just right? Follow these simple steps:
1. Making it Look Professional:
- Select a font that reflects your company's style.
- Pick colors that represent your brand.
- Upload your company logo for a polished look.
2. Currency Matters:
- Choose the currency that fits. Docelf supports USD, CAD, AUD, EUR, and GBP.
- It makes transactions smoother for international customers.
3. Contact Details:
- Include your email for queries.
- Add your phone number for direct communication.
- Link to your website so customers can learn more about you.
4. Extra Information:
- Attach additional files if necessary.
- Useful for product warranties or service guidelines.
- PDF, Email or Print
- Keep your receipts organized
- See when your receipt has been opened
- Send out professional receipts